The Hall Typewriter
The Printing Mechanism
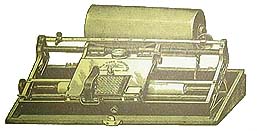
The printing mechanism of the Hall is another charming piece of clever engineering.
The blue steel and brass on it help make the Hall as a whole such a wonderful
display item.
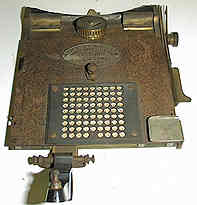
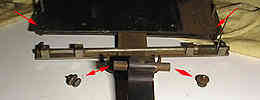
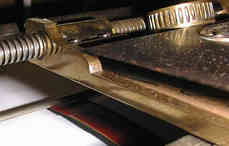
To take it apart completely, we begin by removing the index cover and index
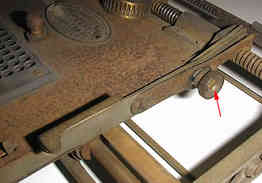
card. Next, we remove the space key by unscrewing the screw in the center
of the brass space adjuster (photo below, left - red arrow)
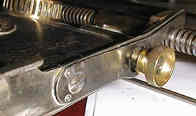
The two parts of the space key can now be cleaned, polished and rubbed. When
they're done, put them away until the whole thing is finished.
(But then... they look like the picture on the right.)
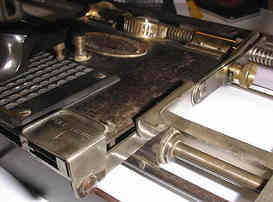
To take apart the top section of the printing mechanism, remove the two screws left and right on the front top (right pic), and undo the bolts of the index pointer.
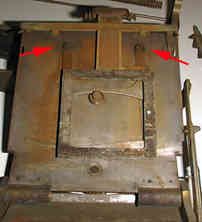
Then remove the two screws holding the slides of the rubber type sheet against the inside of the top. (left pic). You can now remove rust from the whole mechanism, after which it looks like the picture on the right.
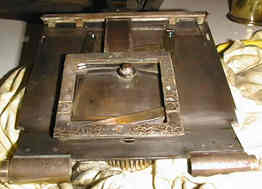
Clean, polish and rub the brass parts (hinges, side bars, spring cover, name
plate) remove rust from the bottom and put the whole thing together again.
After remounting it onto the space rod, it looks lie this:
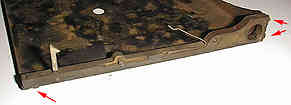
The cover plate of the mechanism showed some serious rust. In removing it, part of the blue/black layer of the steel also disappeared. This can be fixed using gunblue.