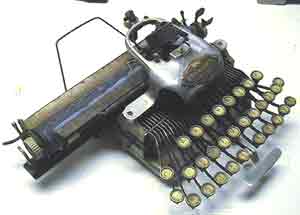
The Blickensderfer 5/6
Guidelines for disassembly by Rob Blickensderfer
The Blickensderfer. No collection of typewriters is complete without one. And luckily, enough of them have survived to keep their price at acceptable levels. The Blickensderfer is one of those machines that can be disassembled down to the last screw (well, nearly the printing head is not to be messed with, unless you are very sure of yourself). This chapter was written by Rob Blickensderfer (yes, a relative). He gives a step by step guideline on how to disassemble the Blickensderfer 5 and 6 typewriter. I used these instructions to take apart the Blick 6 you see in the pictures.
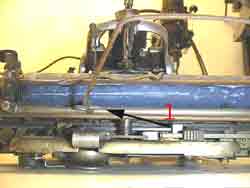
The carriage is removed to the right. (There is no spring return on a Blickensderfer.) On a No. 5, the knurled screw must be removed from left end of carriage. On a 6, raise the margin stop on the left to clear. Depress the space bar, or push the slider in from rear, and slide the carriage out to the right.

1. Remove the wire paper rack by unsnaping the ends. On most early 5s
the paper rack is missing. (It had to be unsnapped from the platen supports
to put the machine in its case, so it often got lost.) On later No. 5s
and all 6s it snaps into the arms that carry the feed roll.
No. 6 has a curved sheetmetal paper shelf that can be removed by removing
the two nuts, one on each end.
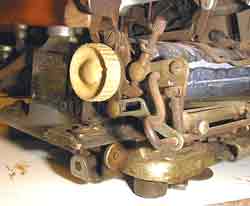
2. Remove the release bail (the heavy wire that runs the length of the carriage) by unsnapping the ends from the platen support brackets. Slide the bail out of the spring, (and out of the hole in the release lever of No. 6.)
3. On No. 5, unscrew the nut from the left end of the long rod which is behind the platen, and remove the rod. On No. 6, unscrew the paper release lever on the left end of the carriage.
4. Remove the twirler knobs. On No. 5, unscrew the nut on each end of the platen shaft, then unscrew the bell and the left knob (early 5s don't have a left knob.) On No. 6, unscrew the knobs.
NEXT