Step 4. Taking apart the keyboard
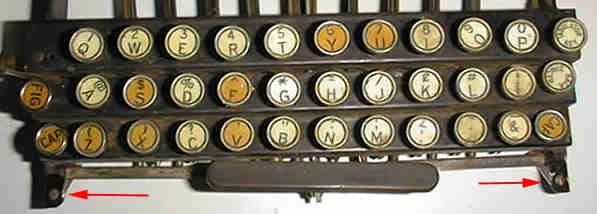

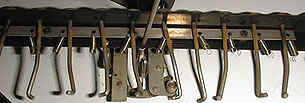
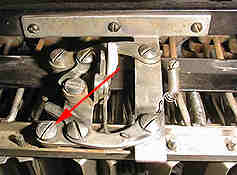
Now undo all the springs that are attached to the ends of the key stems, sticking forward through the horizontal bar. (red arrows on the left)
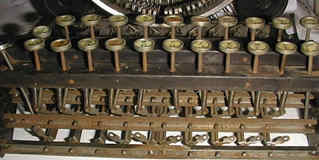
Finally, undo the screw that attaches the space bar to the same horizontal bar. Now remove the row. Note the long thin rod that operates the escapement. Make a note of where it should go when you reassemble the keyboard.
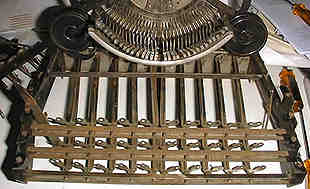
Repeat these steps with the other two key rows. The whole system can now be reached for cleaning and polishing.
Note that the key springs are attached to the inside of the 'steps'. You can just leave them there. They won't fall out.
Done? Time to reassemble.... in step 5.