Oliver 2 Restoration
by Gary Bothe
I first
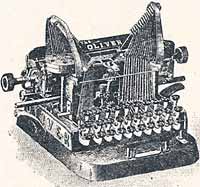
encountered this little gem in a local antique store. It was not impressive
when I first saw it (See Photo 1).
 |
| 1.
Partially disassembled machine prior to cleaning and restoration |
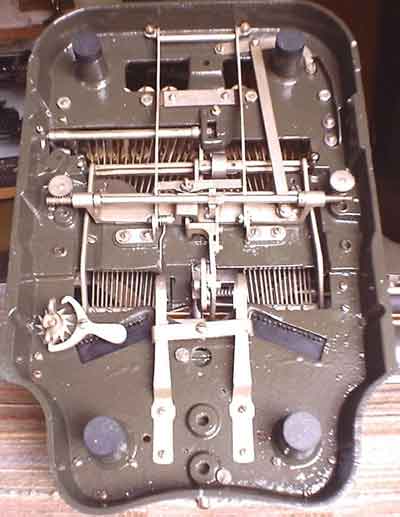 |
| 6.
Underside of reassembled machine |
In fact,
I have to admit that all the dirt, a fair amount of rust, and a number
of broken or missing parts nearly discouraged me from buying it. I actually
went home without it before I had a good talk with myself along the lines
of "Hey, idiot, so its not in such great shape. But, how many of these
have you seen AT ALL up til now?"
So I went back and got it, and it turned out to be a good decision. After
a lot work and help from my friends I now have a very nice working Oliver
2 that I intend to keep for a long time.
If you own one too, and would like to improve its condition, heres how
I went about reconditioning mine:
First, in comparing my machine to the illustrations in the Oliver 2 instruction
manual I received from Peter Weil (thanks Peter!), and to photos of a
model 2 that appeared on ebay recently, it appears that there are at least
two varieties of construction. One of them (found in the instruction manual
and the ebay photos) looks pretty much the same as the Oliver 3. If your
model 2 looks like this and you also have a model 3, simply use it as
your guide for working with the 2. But if your machine looks like mine
(see underside Photo 6) you have some very different parts to work with.
Use these photos as your reassembly guide.
But first,
click here for the disassembly: 
And then here, for cleaning and refurbishing:
When all is clean, it is time to reassemble the machine:
And finally, you want to write of course, buy first you calibrate and
realign:
|